Technology
Setting up Kafka Connect in Confluent Cloud with MongoDB

March 28, 2022
Kafka Connect is designed to transfer events from a source to a sink destination quickly and fault-tolerantly. This guide describes how to set up a Kafka CDC (Change Data Capture) connector that forwards all events from MongoDB to a Kafka topic in Confluent Cloud.
The basic concept of Kafka Connect

In order to set up Kafka Conenct to be fault-tolerant, we need to deploy multiple worker nodes. A failover should always take place when a node is no longer available. To ensure sufficient availability, we will set up a cluster with 3 nodes in this article. A worker node is a consumer that consumes MongoDB change stream events and forwards them to a Kafka topic in Confluent Cloud.
It should be noted that the change stream events from MongoDB are fully acknowledged writes to the MongoDB cluster and not writes from the WAL log. So we have the guarantee that we are consuming the correct/consistent events written in MongoDB and acknowledged by all nodes.
We need to deploy multiple worker nodes to form a Kafka Connect cluster. There are no Zookeepers or other components that we need to deploy alongside the workers. The workers use the Kafka consumer API and are therefore part of a Kafka consumer group. They listen to rebalances and respond accordingly. If a node becomes unavailable, a rebalance takes place and the polling task is redistributed.
Worker nodes communicate
- with Kafka brokers in Confluent Cloud
- among themselves

On a Kafka cluster of workers, we can install a connector plugin. In our case it is a source connector plugin that polls the data from MongoDB. These plugins extend the SourceTask of Kafka-Connect itself and return a list of SourceRecords that are passed to the Kafka-Connect Library. This means that the plugin configures the task to be executed by the library. The Kafka Connect Library, the basis on each worker, takes care of this task and ensures that it runs distributed across the cluster and fails over to available nodes in case of failure.
Therefore, we need to install and configure the connector plugin. Kafka Connect needs to store these configurations within the cluster so that after a failover, the next worker can resume the task. A connector plugin can usually be downloaded and installed from Confluent hub. The plugin can be downloaded and placed in the worker’s configured plugin.path. When using Confluent-Hub, the plugin is installed in a default Plugin.path.
| |
Docker-Hub Plugin Path config
For an example of the Confluent Hub approach, see the included Dockerfile in this guide.
If we start 3 workers with the connector plugin installed, we get the following setup for a cluster:

As soon as the worker is configured correctly and the plugin is installed, we can create a connector and thus inherently one or more tasks. Since the plugin takes care of creating the tasks, we only have to create a connector with the right configuration. Only one task per MongoDB Collection is created for the MongoDB Source Connector Plugin. This means that if we want to poll multiple collections, we would have to create multiple connectors that use the plugin. That’s because MongoDB’s change-stream feature is built to scale across sharded collections. We won’t cover that for the sake of simplicity.
Once we have started 3 workers, we can create a connector via POST of the configuration to the worker cluster. Our setup now looks like this:

Yes, you read that right, the connector configuration must be sent (in distributed mode) to the cluster via an HTTP POST in order to create a connector. Therefore, the workers should be accessible from outside. Appropriate security measures must be taken, such as private networking.
Example:
| |
POST connector
For example, if we want to consume a collection from another MongoDB cluster, we need to create another connector. The other connector has a different configuration for the database connection, the collection to be consumed, etc…
For a complete example of a connector configuration, see the step-by-step guide below.
To understand what a connector is exactly, let’s look at such a setup with multiple connectors connecting to two different database clusters (two different MongoDB clusters).

Of course, instead of two MongoDBs, we could also install another plugin, such as a Debezium PostgreSQL CDC Source Connector Plugin, and create a connector that connects to a PostgreSQL database.
Details about the worker: structure and functions
Workers REST-API
Each worker’s REST API is used primarily to spawn a connector, but also to monitor the connectors and tasks. Via the REST API, you can also validate connector configurations before adding them to the effect. Requests to one of the follower workers are always forwarded to the leader.
We have several important API endpoints:
| |
Important connector endpoints
The entire API docs can be found here:
https://docs.confluent.io/4.1.0/connect/references/restapi.html
Some more practical examples can be found here:
https://developer.confluent.io/learn-kafka/kafka-connect/rest-api/
Why the workers need to communicate with each other
When a worker node joins the cluster, it loads the “status topic” (internal compacted topic) where the current leader url is stored. The followers always forward the REST requests to this leader url. The following example shows why this is important.
For example, if we create or delete a connector, a new configuration must be saved in the internal config topic. If we sent the same configuration for a connector to two follower nodes and the requests were not forwarded to the leader, both could add the same connector to the internal config topic and we would end up with a duplicate connector. Therefore, requests are always routed to the leader to ensure no false states are created.
(To see that in code / Um das im Code zu sehen)
So we need to make sure that the network is configured so that workers can communicate: each worker exposes a hostname and port, and can be elected leader in a rebalance.
The following settings must be added in the configuration:
| |
REST Configs
For a full example, see the step-by-step guide below.
Load balancer issues
It is important here that the workers each have their own route and that there is no load balancer in front of them. If you put a load balancer in front of your Kafka Connect workers with a random/round robin policy, you may occasionally encounter the error described below because some of your requests are forwarded to the follower instead of the leader. As described above, this would cause problems, so the error below appears:
| |
Error with loadbalancers
Why the workers not only produce data, but also communicate with the Kafka broker
In distributed mode, of course, there must be a way to save the connector/worker/task status so that all worker nodes can access it and act appropriately in the event of an error.
- The current offset needs to be saved (where we left off e.g. when consuming a MongoDB collection).
- A connector’s configuration must be saved so that a worker knows where to connect in the event of a failover.
- The status of the tasks and the workers currently assigned to them must be saved.
- The status of the data topic (for a task) must be saved.
Kafka-Connect currently stores this information in 3 internal compacted topics:
| |
Internal Topics
Connector details
In order to understand the connector configuration in the step-by-step guide, we first have to cover a few more points about the connectors.
Transformations
Each connector connects to a data source. In the case of our MongoDB, we can configure the connector to not only fetch the patches of each CRUD operation, but the entire document that was inserted, updated, or deleted. However, in the case of MongoDB, this “full document” has a specific structure and properties. For example, if you decide that you don’t need certain properties, or that you want properties of your entire document to be concatenated together to form the key of the event, you need transformations.
Let’s watch our MongoDB collection “Events” (subscribe to the “change stream events”).
| |
MongoDB watch cursor
If we add an event and observe the “fullDocument” we get the following:

| |
MongoDB full document
As you can see, we have a lot of surrounding properties that we don’t use. So we need to add transformations. For that there are different possibilities:
- We transform the document in MongoDB using pipelines in the query.
- We transform the document after retrieval within Kafka Connect using the MongoDB plugin.
- We transform the document after retrieval within Kafka Connect using the built-in SMTs.
- We transform the document using a combination of the above methods.
Note that the built-in SMTs mostly depend on a schema. MongoDB is mostly used without a schema, so we need to specify or infer a schema in the plugin to use it. So, depending on which plugin you choose, you can apply transformations, but that’s not always the case. They are not always well documented and sometimes need to be looked up in the plugin’s code base and tests.
If our goal is to generate a nice-looking key from multiple properties within the full document that we can later extract for the actual key in Kafka, we can use a MongoDB pipeline transform. This is executed during the collection’s monitoring query, and we can then use MongoDB’s built-in plugin transform to extract it as a key. We don’t need built-in SMTs for this.
- For the example, the key should have the following structure: context_aggregate_aggregateId_eventName.
- In code: Setup pipeline
- In code: Process next document
- In code: Apply output.schema.key to document
Let’s see how a pipeline works in MongoDB itself:
| |
MongoDB Pipeline
| |
MongoDB full document after pipeline
We need to add this pipeline to our connector configuration to tell the connector plugin to add it to the monitor. This is run to stream new documents from the plugin. We also need to extract this newly generated property and use it as a key. This can be done via the output.schema.key. In order for it to be applied, output.format.key must be set to “schema”. Since the key is of type string and our key in Kafka should be a string, we can set the key.converter to “StringConverter”.
| |
Connector config.json with MongoDB-Pipeline
Step-by-step guide: How to install the Cluster
As an example, we will set up a cluster of worker nodes in a Cloud Foundry environment. Cloud Foundry was chosen because the steps to be taken can be presented in a very clear and understandable way. You don’t need any knowledge of Cloud Foundry to follow this guide. The steps can also be applied to e.g. Kubernetes.
What to expect in this guide:
- We will use Confluent cloud to set up our Kafka cluster.
- We connect to a MongoDB instance.
- We apply a MongoDB pipeline to create a concatenated property for the “Key”.
- We extract the newly created “Key” property and use it as a key within the Kafka topic.
1. Set up Confluent Cloud
If you haven’t already logged in, go to https://confluent.cloud/login and create a basic cluster.
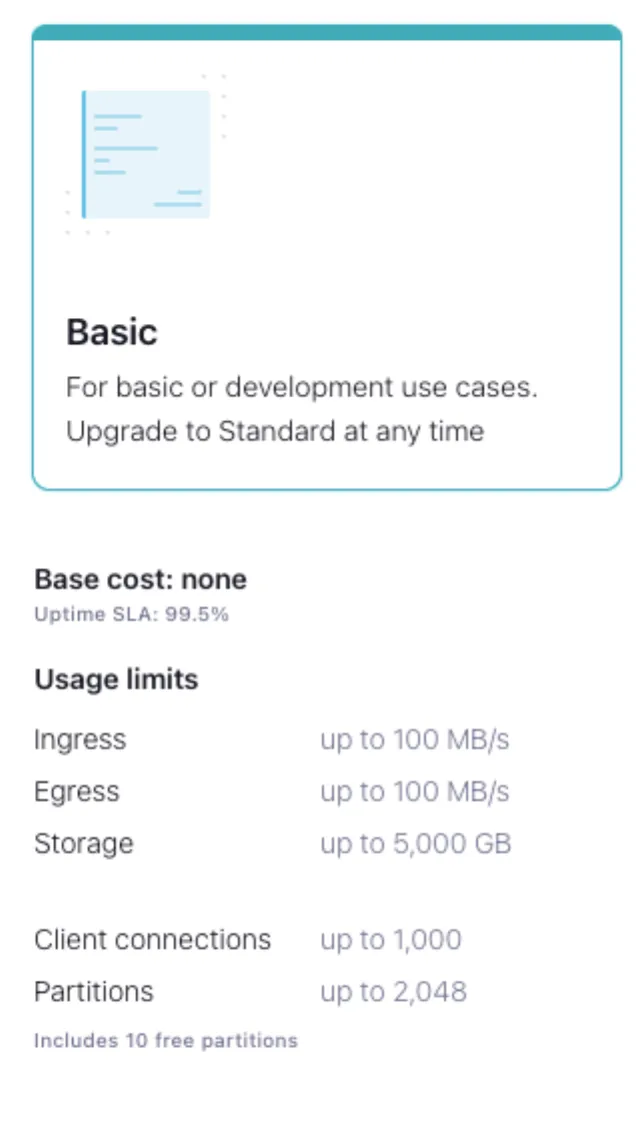
If you operate your cluster with the setup from this guide for an extended period of time, you may incur costs. This is because the internal themes use a large number of partitions.
Example cost overview:
Running the above setup for about 1 month costs about $70. To save costs, you can turn off the setup when you don’t need it, or run a local Kafka cluster.
Kafka’s description:
If you choose to create this topic manually, always create it as a compacted, highly replicated (3x or more) topic with a large number of partitions (e.g., 25 or 50, just like Kafka’s built-in __consumer_offsets topic) to support large Kafka Connect clusters.
e.g. for the internal offset topic, the default is 25 partitions:
offset.storage.topic = default 25 partitions
For the purpose of our setup, we could make the number of partitions much lower, but optimizing the cluster is not part of this guide. Also think about the purpose of your cluster. If you want to expand, you need more partitions.
2. Setting up the worker (Dockerfile)
We will reuse the confluentinc/cp-kafka-connect-base docker image that contains the worker library to create and configure our own docker image for a worker.
The env-vars can be overwritten later by setting the env-vars after deploying the application.
| |
Override env var via cf set-env
The environment variables CONNECT_REST_ADVERTISED_HOST_NAME and CONNECT_REST_PORT have to be overwritten later for each worker.
Task: Create a new directory and save the following Dockerfile.
| |
Full Dockerfile
3. Prepare the connector configuration (config.json)
As described above, each connector has its own configuration that we can verify and then add via POST. Among other things, the configuration includes the DB Connection and the target MongoDB Collection.
- The transformation pipeline described above as well as the output.schema.key must be applied in this configuration.
- Next we need to add the DB
connection.uriandcollectionetc.
Task: Copy the following configuration and create a config.json file in the root of the newly created directory and replace the required configuration properties.
| |
Full Connector config.json to POST
4. Start the worker and POST the connector configuration (run.sh)
To start the worker, we create a file and save it in the newly created directory. A sleep infinity must be added to prevent the worker from being suspended.
Task:
Create a file in the root directory named run.sh with the following content:
| |
Full run.sh
5. Build the worker image
Task: Create your image with a tag.
| |
Build Docker Image
6. Transfer your application to the PaaS
We will push our image using a container that contains 2GB of memory and 2GB of disk space. We want to run 3 workers to form our cluster.
For Cloud Foundry users, you can use the following CLI commands:
| |
Push workers to cf
7. Network communication between workers
We need to make sure our deployed worker node app has opened the ports needed for communication
- with Kafka brokers
- among themselves
In Cloud Foundry, to do this we need to do the following using the cf-cli:
| |
Workers internal routes setup
You’ll need to repeat this for each of the 3 worker nodes we pushed.
8. Create a public / external route
We have created the internal routes and thus cluster communication is intact. An external route must now be added so that we can send the connector configuration created in step 3 to our cluster via POST. The route we’re going to create will route the traffic round-robin to one of the workers we’ve created. The worker itself will then forward this request to the master worker within the cluster. In this guide, we will not take any security measures regarding this route, but you should consider authentication.
| |
Worker’s external route - round robin to one of the workers
9. POST the connector config. It is now time to POST our connector configuration created in step 3 to our cluster. We use our newly created route for this.
| |
POST connector config
10. Test your cluster
If you stop a worker, you can observe a reblance. For example, stop the worker that is in the process of executing a task if another worker within the cluster takes over and continues that task. But keep in mind that if there is only one collection to process, there can only be one worker node working. In Confluent Cloud you can inspect the internal topics and see which worker is running the task - this should change as soon as another worker node takes over the task.
You have questions about Kafka Connect? We’re happy to help. Send us a message using the Contact Form and we’ll get back to you.
Download the full deployment script here
📝 Like what you read?
Then let’s get in touch! Our engineering team will get back to you as soon as possible.